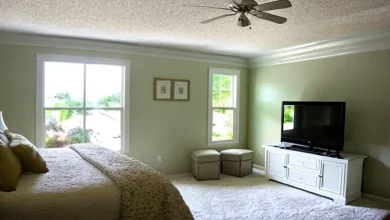
Ceilings with popcorn were a favored fashion trend during the late 20th century and were renowned for their unique texture and noise-reducing capabilities. As home decor has evolved the majority of homeowners are searching for alternatives to this old design. Shiplap is one of them, and with its charming rustic look has been gaining a lot of attention in recent times. But the question is can you install shiplap over a popcorn ceiling?
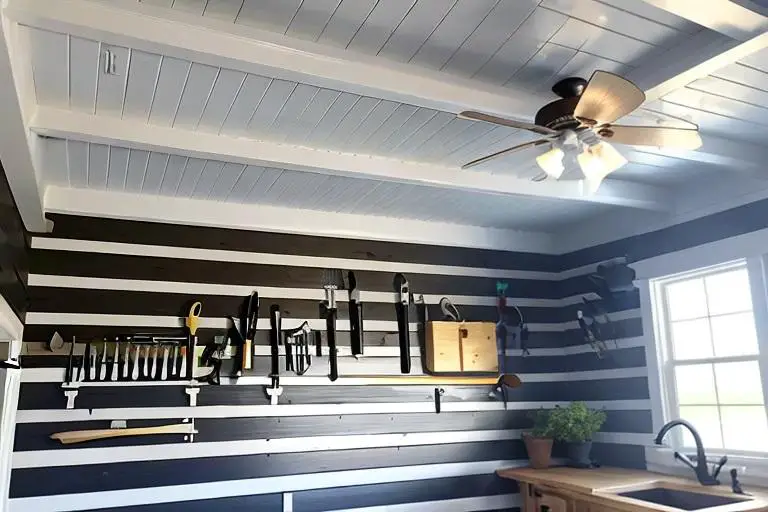
Shiplap, which is traditionally used for exterior siding, is now finding its use in interior design, embellishing ceilings and walls with its unique planks that are horizontal. Although installing shiplap on smooth and flat surfaces is a fairly simple procedure, the process of installing the popcorn ceiling poses the same problems.
The first thing to consider is the load of the shiplap. Popcorn ceilings are generally comprised of light materials like plaster or drywall, and might not be able to take the load that the shiplap. It is crucial to evaluate the structural strength of the ceiling prior to installing any ceiling.
In addition, the surface texture of the ceiling is a further obstacle. The rough surface may affect the smooth installation of the shiplap, which results in a sloppy and unappealing look. It’s crucial to tackle this issue in order to achieve an attractive and professional result.
In this article, we’ll look at the possibility of putting a shiplap on the ceiling of popcorn. We will look at the preparatory steps, possible challenges as well as alternative solutions to achieve the desired look. If you’re a DIY-er or plan to engage an expert, knowing the options and limitations will aid you in making an informed decision. It will also help you transform your home into a stunning display of shiplap.
Read More: How to Fix Scratches on Laminate Flooring
Supplies & Tools Needed to Install a Shiplap Ceiling
If you’re looking to give that popcorn ceiling chic upgrade with shiplap, you must be equipped with the appropriate materials and tools available. By following the list below you’ll have everything you need to tackle the job and create stunning results with your shiplap ceiling. Let’s begin!
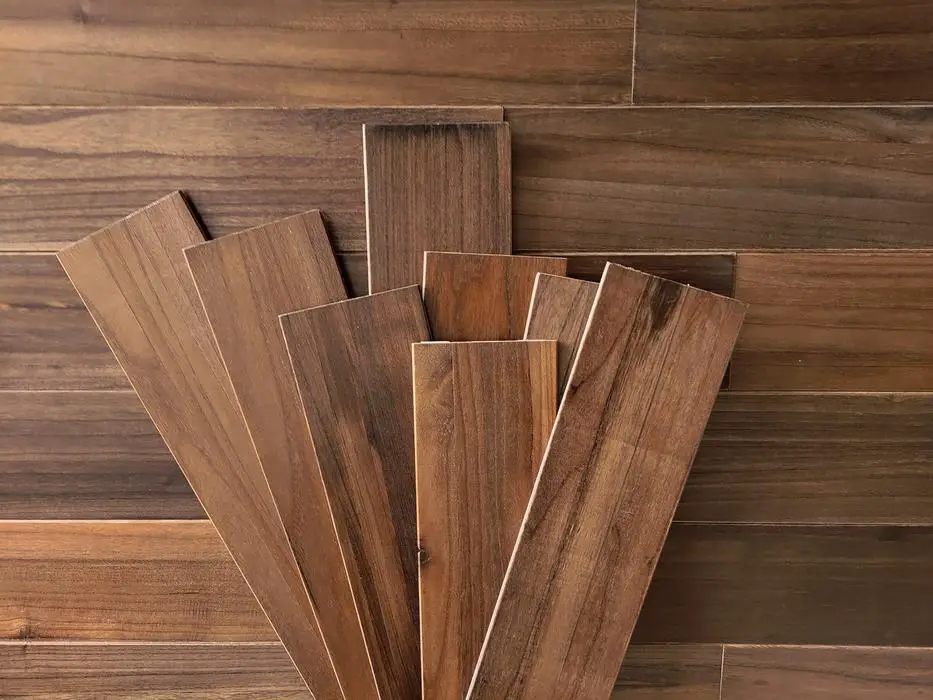
Planks of Shiplap
The show’s star is of course the shiplap. Check the ceiling space to determine how many planks you’ll require. Shiplap is usually available in different sizes and lengths so you should select the size which is best suited to your needs and style. Remember that it’s best to purchase a little more than is necessary to accommodate any omissions or wasted material.
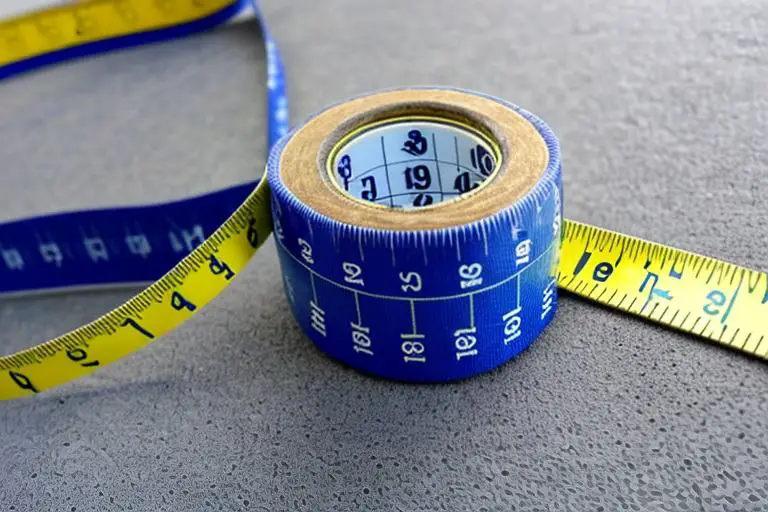
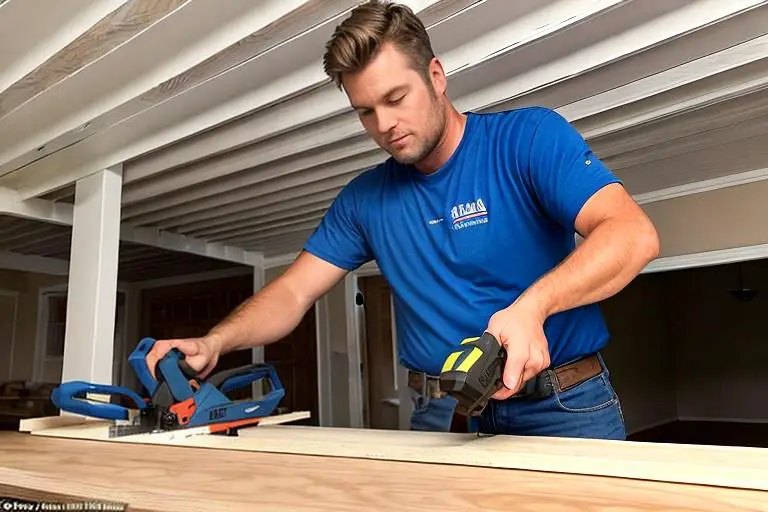
Measuring Tape
Accurate measurements are essential to the installation of a shiplap ceiling that is successful. Make use of a measuring tape to find the measurements of your ceiling as well as how long each plank is. Be sure to take measurements twice in order to avoid costly errors.
Final Nail Gun as well as Finish Nails
A finish nail gun can help you install your nail easier and faster. We suggest using a 16 gauge nail gun that has an air compressor. It’s an adaptable tool that is able to be adjusted to different pressure settings. Make sure you have the right finishing nails to fix the planks of shiplap to the ceiling.

Stud Finder
Before attaching the shiplap it’s crucial to find the ceiling joists to ensure stability. A Stud finder is an essential instrument for this job. It will assist you in identifying the structural components behind the drywall and will ensure that your shiplap is anchored with a strong anchor.

Stool or Ladder Stool
Because it is likely that you will be working with the ceiling an appropriate step stool or ladder is essential to access the area of installation easily and safely. Make sure the ladder is sturdy and placed on a solid surface.

Multi-Tool
A multi-tool can come in handy for a range of jobs during the process of installation. It is able to cut planks of shiplap to the length you desire or to make precise adjustments to obstacles like vents or light fixtures.
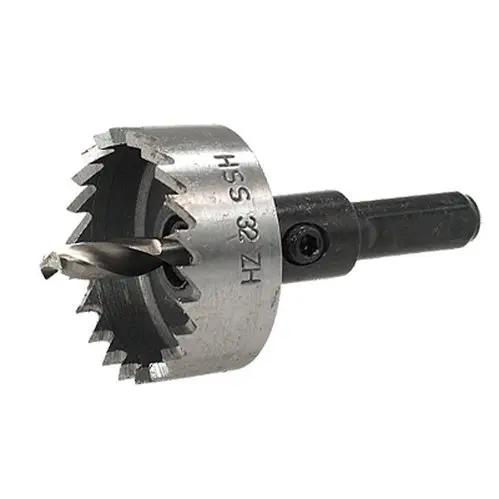
Hole Cutter
If you have recessed lighting on your ceiling space, you could require a hole-cutter to cut holes in the shiplap planks to allow fixtures to pass through. Make sure you select the right size hole cutter that will meet the lighting requirements of your particular.
Caulk
For an elegant and professional look, You’ll require caulk to cover any gaps between planks of shiplap and the interior or exterior walls. Choose a caulk that paints that is the same color as the shiplap.

Spackling
When you install the nail you might encounter tiny nail holes or flaws that require filling. Spackling is a light putty which is ideal for this job. It is quick-drying and is sanded to create a smooth look.
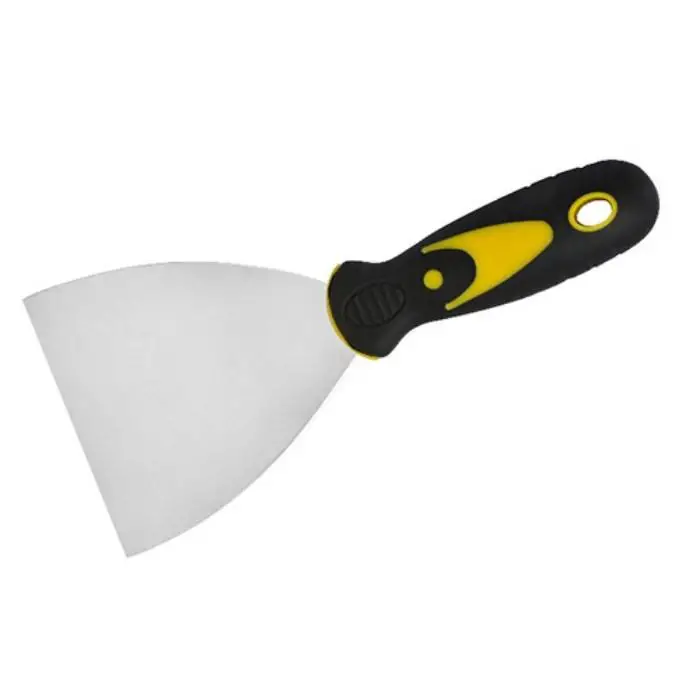
Putty Knife
A putty knife is utilized to apply to spackle, then smooth it over holes or any imperfections. It will give you a smooth and even surface that is ready to paint.
Sanding Block
Prior to applying the paint, it is essential to sand all over the top of the sail-lap so that it’s smooth and free from any rough edges or flaws. Sanding blocks can provide the required grit needed for this job.
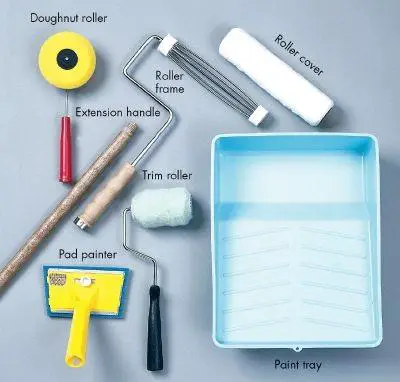
Ceiling Paint, Paint Tray, Paint Roller, and Paint Roller Cover
After the shiplap has been securely placed and any imperfections have been eliminated then it’s time for a new layer of painting. Choose a top-quality ceiling paint with the shade you prefer. Put the paint in the tray of a painter and utilize a paint roller with an appropriate cover to coat evenly the planks of shiplap.
With these tools and supplies available, you’ll be fully prepared to tackle the installation of your shiplap ceiling.
How to Install Shiplap Over Popcorn Ceiling? A Step By Step Guide
Would you like to say goodbye to your ceiling with popcorn and enjoy the natural appeal of shiplap? Installing shiplap onto popcorn ceilings may appear like a daunting undertaking but if you follow the correct strategy and some basic knowledge you can create an impressive transformation. In this step-by-step guide, we’ll guide you through how to install a shiplap on top of a popcorn ceiling. Don’t hesitate to put on your work gloves and gather all the materials you need and get going!
Step 1: Locate the studs or beams that are in your ceiling.
Before you start building the shiplap, you’ll need to be important to identify the joists or studs within your ceiling. Utilize a stud locater to locate the structural components behind the texture of popcorn. Note these areas as they’ll be anchor points to secure to the boards of the shiplap.
Step 2: Measure the area to determine the dimensions of your shiplap
A precise measurement is essential for the success of a shiplap installation. Make use of a measuring tape to measure the length and width of the space in which you’ll put the shiplap. This will enable you to determine the number of shiplap boards you’ll require and guarantee that the fit is perfect.
Step 3: Cut your shiplap board
With the measurements you have in hand now is the time to cut the shiplap boards to a proper length. Utilize a saw or multi-tool for clear precise cuts. Make sure to take into account any gaps or obstructions within the ceiling for example vents or lights while cutting your boards.
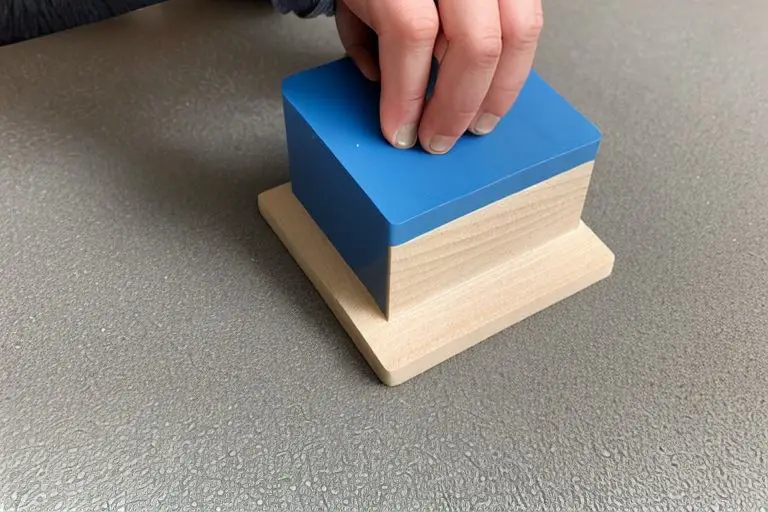
Step 4: Dry-fit your shiplap boards, and then create an outline
Before putting on any nail or adhesive make sure you do a dry fitting of the shiplap boards to make sure they are aligned properly and are snugly pressed to the ceiling. This will allow you to determine any adjustments that have to be made. You can also make the template to use for future use.
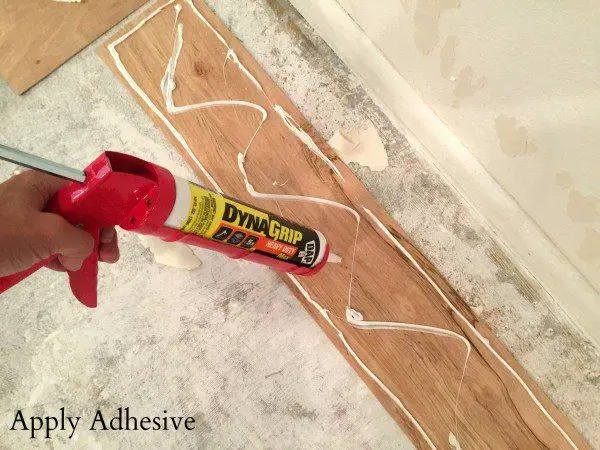
Step 5: Apply adhesive to the back of the shiplap board
To ensure a secure, long-lasting installation, you can apply construction adhesive to the sides of each shiplap panel. The adhesive helps to bond these boards with the ceiling. Be sure to follow the instructions of the manufacturer for proper application.
Step 6: Nail the shiplap until it reaches the ceiling.
Starting at one side of the area, place your first board of shiplap against the ceiling and align it with the Joists or studs you previously marked. Make use of a finish nail gun and nails that are appropriate to fix the board. Make sure that the nails are countersunk for an even look.
Step 7: Continue until all boards have been installed
Continue the process of installation Place each board tightly against the one that came before. Utilize the stud markings as an indication for nailing the boards in a secure manner. Repeat this process until the shiplap boards have been installed and cover the entire ceiling in popcorn.
Step 8: Mark the opening of the light fixture, then cut around them.
If you have lighting fixtures that are recessed on your ceiling mark the positions of them in the boards of shiplap. Utilize a hole cutter or a multi-tool, to cut out openings on the boards in order to accommodate fixtures. Make sure you take your time to ensure a proper fitting around the fixtures.
Step 9: Mark the odd spaces on the ceiling, then cut them around them.
In some instances, your ceiling might contain odd-shaped or irregularly-shaped niches that require a special focus. Note these spots on the shiplap boards, and then employ a saw or multi-tool to cut precisely that are able to fit within the niches. This process will guarantee an elegant and professional installation.
Step 10: Make sure you are going to the Finish Line
After the shiplap board is in place, it’s time to put on the final elements. Make sure there is no gap between the ceiling and the boards by caulking, employing the putty knife to ensure smooth application. When the caulk is dry then use spackling to cover the nail hole or defects. Sand the surface gently to achieve an even finish.
Now, your ceiling with shiplap is now ready for the final stage of transformation. Apply a fresh coat of ceiling paint with a roller and a roller cover. Make sure you apply the paint evenly to the shiplap boards so that the beauty and texture of the shiplap show through.
Congratulations! You’ve completed the installation of shiplap on the ceiling of your popcorn, adding a timeless look to your room. Relax and enjoy the gorgeous outcomes of your hard-earned effort and commitment. Take advantage of your brand-new ceiling with shiplap and the warm ambiance it creates in your home!